
Welcome to our tutorial that will guide you through the steps to create a beautiful drawing of a horse. This guide is designed to transform a complex activity into a moment of fun. With clear instructions, even beginners can learn to create captivating works of art.
The horse is a fascinating subject, and we will help you capture its natural grace on your favorite paper. Each step of this tutorial is structured to be accessible, making learning to draw both simple and enjoyable.
We have developed simplified methods that ensure a rewarding result, regardless of your age or experience level. Get ready to dive into the world of drawing and discover your own artistic style while having fun!
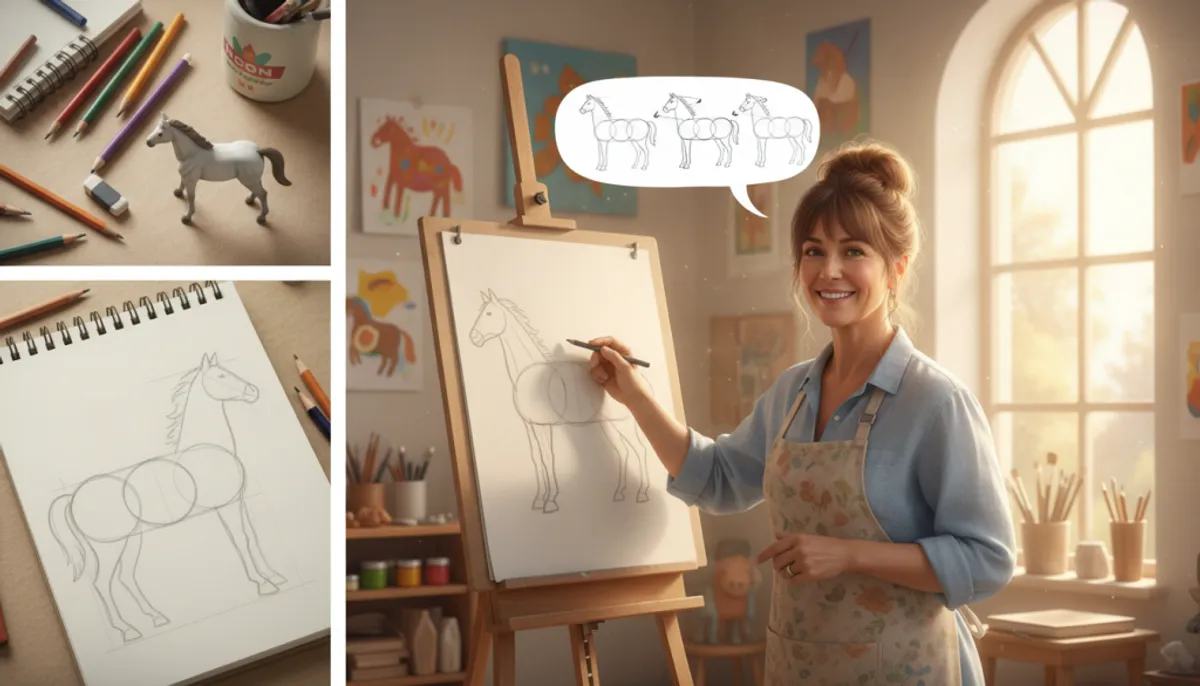
Key Points to Remember
- This guide helps you learn to draw a horse easily.
- The instructions are clear and suitable for all levels.
- Drawing becomes a fun and rewarding activity.
- You will capture the natural beauty of the horse on paper.
- Develop your own artistic style while learning.
Overview of the Tutorial
Immerse yourself in our tutorial dedicated to learning how to draw. The main goal of this guide is to teach you how to draw a horse with a simplified approach. Whether you are a beginner or advanced, you will find tips suitable for your level.
Le Petit Fermier provides you with educational resources. Each user can thus learn to draw without pressure and with plenty of creativity. By mastering the techniques to draw a majestic animal like the horse, you will enhance your technical skills while relaxing.
Our guide is aimed at all horse enthusiasts, whether children or adults. You will discover that drawing is an activity accessible to everyone, regardless of your initial experience level in illustration.
- This tutorial guides you to learn to draw a horse easily.
- Educational resources are available for every user.
- Enhance your skills while having fun.
- Intended for everyone, children and adults.
- Drawing becomes a fun and accessible activity.
Preparing the Materials and Drawing Space
Before starting your artistic adventure, it is essential to prepare your materials well. This will help you focus on the creative process and fully enjoy the experience.
To begin, Emre’s Art recommends using a graphite pencil of type B, HB, or 2B. These pencils are perfect for sketching the first lines of your horse drawing.
The choice of your paper is also crucial. Whether you opt for A4 or A5 size, make sure it is clean to facilitate tracing. Take the time to prepare your workspace by keeping your eraser and sharpener within reach.
The choice of tools influences the quality of the final result. Feel free to test different types of paper to see what works best for you. Learning to draw requires rigorous organization, as a calm environment fosters concentration.
- Use a graphite pencil of type B, HB, or 2B.
- Choose clean paper, A4 or A5 size.
- Prepare your workspace with your tools at hand.
- Test different types of paper for the best result.
- A calm environment is essential for concentration.
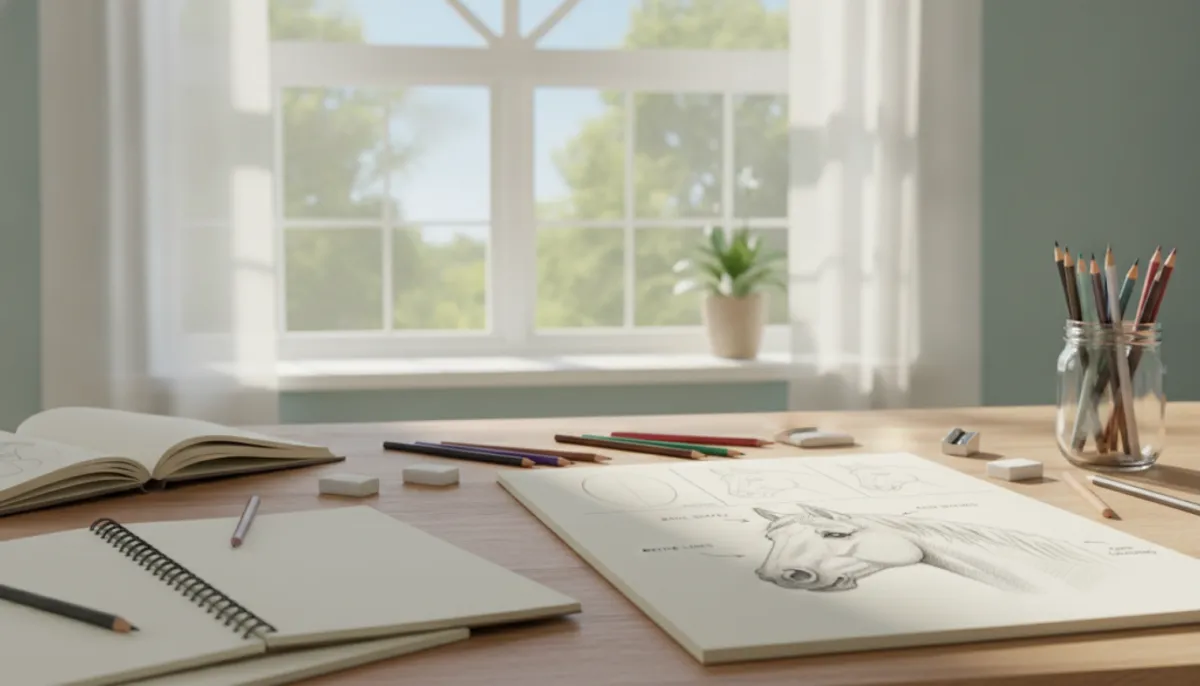
The Basics of Drawing: Shapes and Proportions
To start well in the art of drawing, it is crucial to master basic shapes. These simple geometric shapes will help you structure your work and bring your subject to life. By using fundamental elements, you can create a harmonious and balanced drawing.
Using Simple Geometric Shapes
The foundation of any successful sketch lies in the use of simple geometric shapes, such as the two circles used to structure the horse's head. By drawing these circles of different sizes, you establish a shape that will serve as a guide for the horse's body and its proportions.
Sketching the Body, Head, and Neck
These shapes simplify the complex anatomy of the animal. This makes the drawing process much more intuitive for beginners. To sketch the neck, connect the circles with a smooth line, providing a solid base to define the overall silhouette of the equine.
Learning to draw requires patience, especially when setting up the head and body of the horse, which must be perfectly proportioned.
| Shape | Use | Importance |
|---|---|---|
| Circle | Head | Basic structure |
| Ellipse | Body | Proportions |
| Line | Neck | Fluidity |
Step by Step: How to Draw a Horse Easily
Let’s get to the heart of the matter by learning how to create a horse sketch. To start, draw a diagonal line connecting the two main circles. This defines the dynamic structure of the animal.
Next, add the legs ensuring that the front and back legs respect the perspective of the body. Each line should be light at first, as it is often necessary to erase to adjust the shape of the head or neck.
Following this example, draw the mouth with a gentle curve and the ears using two well-positioned triangles pointing upwards. Take your time to define the body, as this horse sketch will give your final work on the paper its full presence.
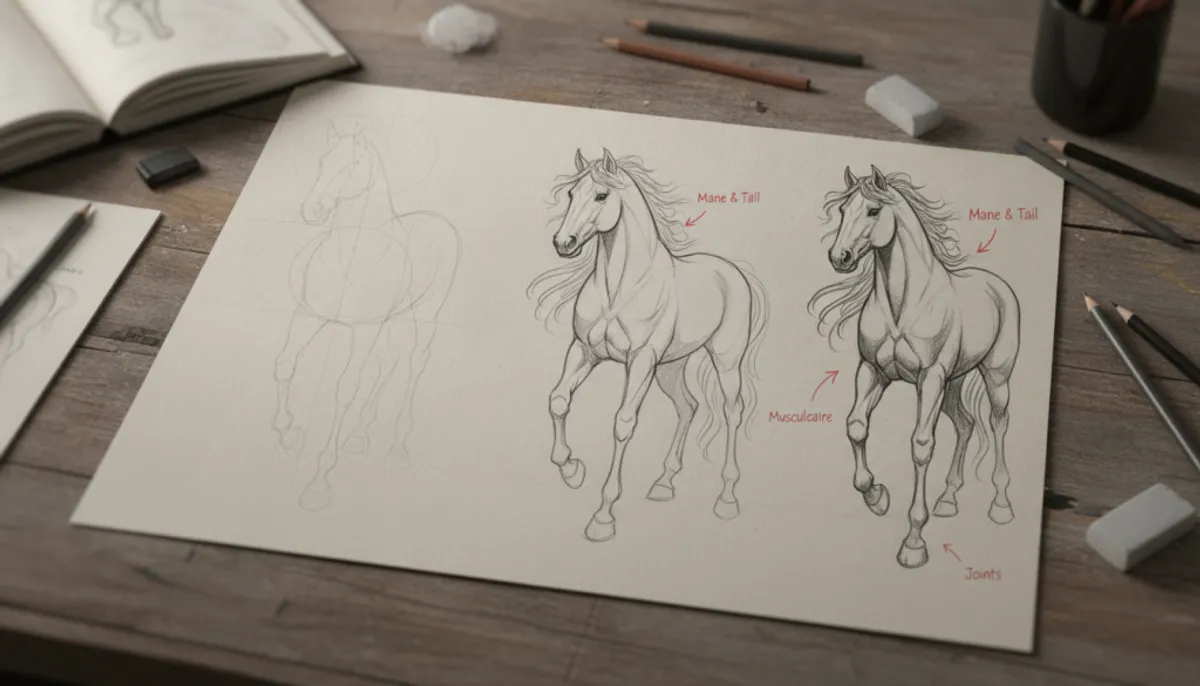
Add Details and Personality to Your Horse
Adding details to your drawing is essential to bring your horse to life. These elements make your sketch more realistic and expressive. By focusing on aspects like the ears, mane, and mouth, you can truly highlight the personality of your animal.
Detailing the Ears, Eyes, and Mouth
For the ears, draw a small inner triangle. This adds depth and makes your horse drawing more lively. The mouth should be rendered with a delicate line, slightly curved upwards. This gives a gentle expression to your animal.
The eyes, with their little highlight, are crucial. They transform a simple sketch into a living work. Don’t hesitate to observe examples to better understand these details.
Creating the Mane and Correcting Proportions
The mane is an essential element that adds character. Draw it following the direction of the hair for a natural and dynamic look. Vary the pressure of your pencil to create darker or lighter strands, thus adding texture.
Finally, take the time to correct the proportions of the head and body. This will ensure that your drawing is balanced and harmonious.
Coloring and Shading Techniques for More Realism
To bring your drawing to life, it is essential to master coloring and shading techniques. These elements add volume and depth to your horse, making your work more realistic.
Start by choosing the appropriate shades for your body. Prepare your paper and ensure you have a good quality pencil at hand. This will facilitate the application of colors and shadows.
Choosing Shades and Preparing to Color
When selecting your colors, think about the light. The exposed areas should be lighter, while the shaded areas should be darker. Use your pencil to create smooth gradients.
Applying Shadows and Working on Tones
The application of shadows is crucial to give volume to the horse's body, emphasizing the areas under the jaw. Darken the legs in the background to create an illusion of distance.
Following the line of the spine, add soft tones to mark the relief of the back and muscles. Working on the initial circles helps to place the cast shadows. Take the time to blend your lines for a smooth gradient across the entire surface of the paper.
| Technique | Use | Result |
|---|---|---|
| Shadows under the jaw | Volume | Realistic |
| Darkening the legs | Distance | Depth |
| Tones on the back | Relief | Musculature |
Conclusion
In conclusion, we hope this artistic journey has inspired you. The horse can live an average of 25 years, and it is fascinating to note that the oldest breed dates back 4,500 years.
With around 60 million horses on earth, this animal continues to inspire artists through numerous drawings and original creations. A horse can breathe only 4 times per minute at rest, an impressive biological feature that reflects its calm nature.
We hope this tutorial has helped you progress, as each successful example is one step closer to mastering your art. Remember that drawing is a regular practice, so keep training to capture the beauty of horses in your future works.
FAQ
What tools are needed to draw a horse?
To create a drawing of a horse, it is advisable to use a pencil, an eraser, and good quality paper. You can also opt for colored pencils or markers to add details.
Is it difficult to learn to draw a horse?
No, with a bit of practice and by following simple steps, anyone can learn to draw a horse. The important thing is to start with basic shapes and gradually progress.
How long does it take to master drawing a horse?
The time required varies from person to person. Generally, a few hours of regular practice may suffice to produce a satisfactory sketch.
How can I improve my horse drawing skills?
Regular practice is essential. You can also study drawings from other artists, follow online tutorials, and experiment with different drawing techniques.
What are common mistakes to avoid when drawing a horse?
Common mistakes include incorrect proportions and a lack of details. It is important to closely observe real horses or photos to better understand their anatomy.
Can I draw a horse from a photo?
Yes, drawing from a photo is an excellent method for learning. It allows you to focus on details and proportions.